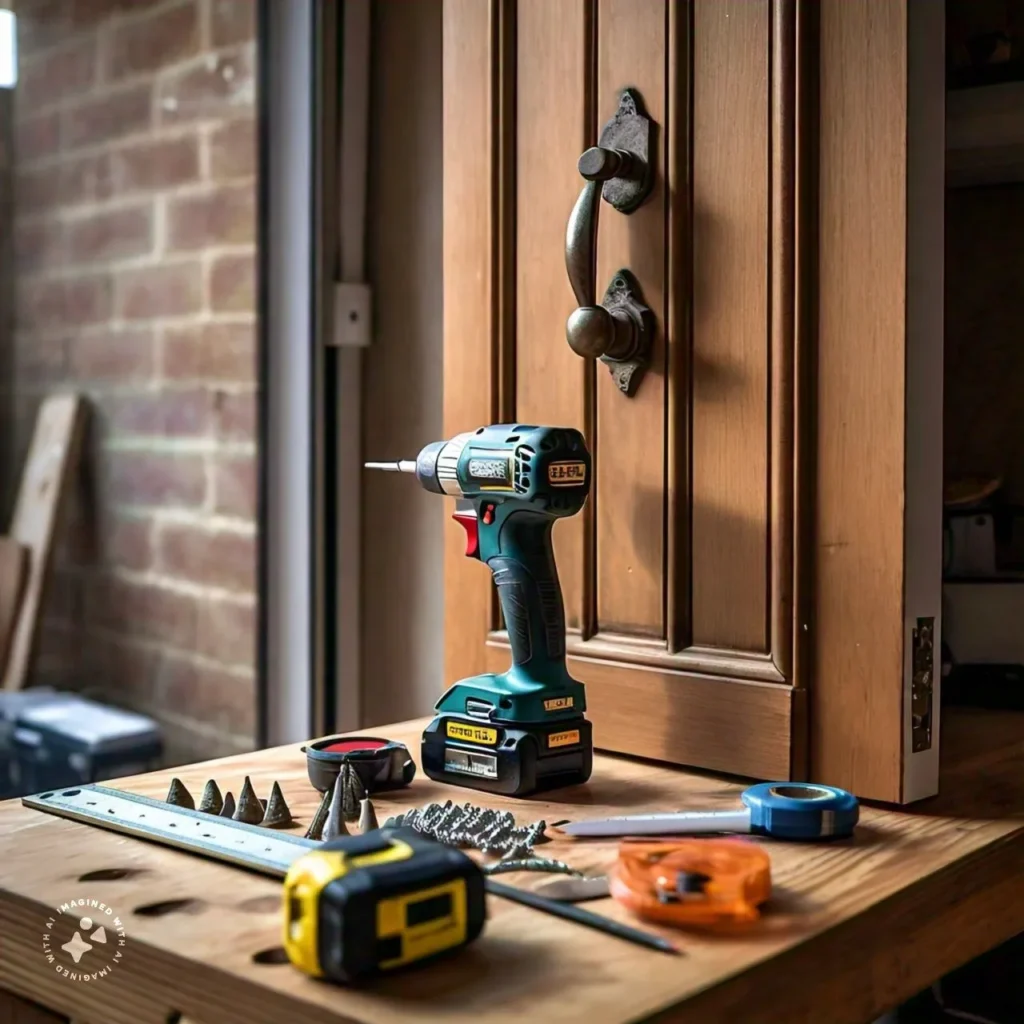
The door knocker replacement is not a herculean task if done properly. In this article, detailed step-by-step guidance regarding door knocker replacement will be provided. It will enable you to avoid damage to your door or door knocker by making the replacement process a walk in the park. Follow the steps for a safe, efficient, and effective technique of door knocker replacement.
Tools and Materials Needed

Essential Tools
- Screwdriver (Phillips or flathead, depending on the screws)
- Drill with appropriate drill bits
- Tape measure
- Pencil
- Level
Materials
- New door knocker
- Screws or bolts (often included with the new door knocker)
- Anchors (if required for your door type)
Preparing for the Door Knocker Replacement
Choosing the Right Door Knocker
When choosing a new door knocker, it is important to consider its material, finish, and style. It is also important to ensure that the new one matches your door and will contribute to its aesthetic appeal.
Measuring and Marking
Mark the replacement of the new door knocker before the removal of the old one. This ensures that the new knocker will be positioned correctly.
A Step-by-Step Guide
Follow each step carefully for smooth and successful removal.
Step 1: Gather Necessary Tools
Step one is to arrange the list of tools given below:
- Screwdriver (Phillips or flathead, depending on the screws)
- Putty knife or flat pry bar
- Soft cloth
- Mild soap and water
Step 2: Inspect the Door Knocker
Now carefully observe the door knocker attachment. Some door knockers are attached with screws or bolts and some are secured otherwise.
Step 3: Locate and Remove Decorative Caps (If Present)
Remove the decorative caps (if there are any) with the help of a putty knife or flat pry bar. Be careful of scratching the door or door knocker.
Step 4: Unscrew the Door Knocker
Step 4 is to remove the screws or bolts with the help of a screwdriver carefully.
- Start with the Top Screws: start losing the top screws first to avoid any damage to the door.
- Proceed to the Bottom Screws: After losing the top screws, come towards the down screws. Moreover, provide support to the door knocker with the help of your hand so that it may not fall.
Step 5: Remove the Door Knocker
Slide the door knocker towards you by pulling it, but make sure to do this softly. If it gets stuck by adhesive or because of painting issues, one can use the putty knife and gently remove it. Place the putty knife between the knocker base and the door and gently run it all around the base so that it requires little effort to free the knocker without scratching the door.
Step 6: This is done by cleaning the door surface.
After the door knocker is removed I clean the surface of the door to ensure that any adhesive, dirt, or grime is cleaned off.
- Wipe with a Soft Cloth: Lay the area gently by using a soft cloth to wipe it to remove all those loose materials.
- Clean with Soap and Water: Use warm water and hand soap to wash the surface where the door knocker was fixed, then rinse it thoroughly with clean water.
- Dry the Surface: Ensure the outcome is properly cleaned and dried, especially if you want to install a new door knocker.
Step 7: Check for Arrival Damage
As mentioned in the previous point, make sure there is no chip or scratch on the door produced by the earlier door knocker or in the process of removal. There may be some holes, cracks, or marks on the door you are planning to correct before putting the door knocker.
Door Knocker Replacement: Watch Video
Fixing the Newly Bought Door Knocker
Drilling Holes
If the new door knocker comes in a different size and shape and has different screw placements, then you have to drill. That is why, the pencil marks you made earlier will be helpful. It’s advisable to pre-drill holes as it helps to avoid the door, especially a wooden one, from cracking.
Aligning the New Knocker
Place the new door knocker on the door so that it aligns with the marks you made on the door or wall. With a level, be sure that the structure is properly aligned. But to secure it firmly, tighten some screws or bolts to the holes provided on the structure of the knocker and on the door.
Securing the Knocker
Screw or bolt the door knocker into the door with the help of the same screwdriver and ensure that it is properly fixed. One thing that should not be done to avoid damaging the door or the knocker is to tighten it beyond necessary. Make sure that the knocker can vibrate freely and it makes a crisp sound.
Final Touches and Testing
Checking Alignment
Before finalizing that you have secured the new door knocker, ensure that it is properly adjusted. Fix it if it is not aligned properly If it is misaligned in any way, Ty to align it properly.
Testing the Functionality
But first, make sure that the door knocker functions properly by giving it a try. Wiggle the knocker up and down in order to verify whether it makes a good ringing noise and if it is tightly fixed.
Finishing Touches
If your new door knocker arrived including caps or covers to the screw, install them at this stage. These not only ornament the structure but also serve to shield the screws from conditions such as weathering and wear.
If you are doing it for the first time, the following are the guidelines on how to replace a door knocker: With the above ideas, you will have an easy time changing the look of your front door and also boost its functionality. Choosing the right knocker, installation, and replacement, as well as servicing the part, are all extremely important for a satisfactory outcome. In case you are looking for a contemporary or traditional form, then replacing the doorknocker is one of the easiest DIY projects.
FAQs
1. What are the factors that one should consider while choosing door knockers?
When selecting a door knocker, see the dimensions of the door then select a door knocker that fits the size of the door. Knocker and door have to suit each other and fit the home and the house style to look harmonized and comfortable.
2. It depends on the size and type of door knocker you want to install, but in many cases yes, you can.
In case the new door knocker offers different mounting holes from the old ones, then you can use the old mounting holes. If none are available, you will need to drill new ones.
3. Is there any recommended frequency of cleaning and maintaining the door knocker?
You should clean and inspect your door knocker at least once in twice a year. It may require more frequent washing if it is often in areas with inclement weather conditions.
